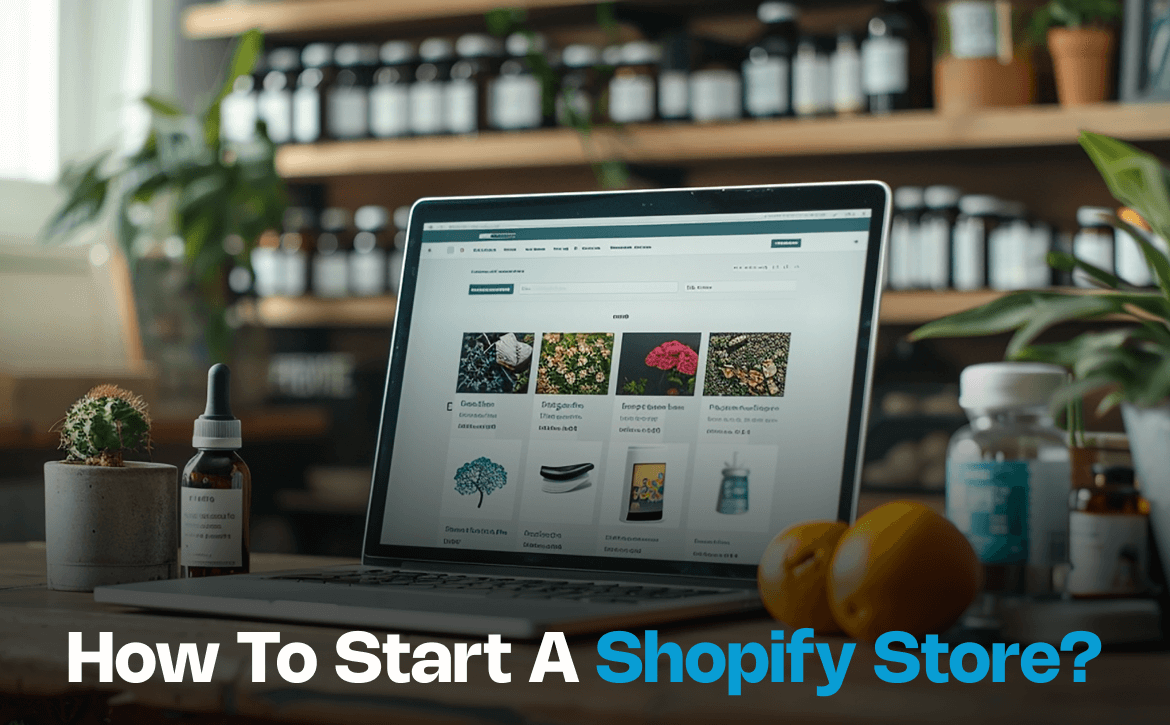
If you want to build an online store or sell your products over the Internet, then Shopify could be the best place to start.
As the leading e-commerce platform, it gives you all the tools and materials required to build a digital store from the ground up.
Just like a brick-and-mortar store, all you need to do is know your target audience and have a relevant business niche in advance to get going with your own Shopify store.
There are plenty of benefits to opening an online store with Shopify. For instance,
- An intuitive Interface.
- Multiple Payment Channels.
- Round-the-clock customer support.
- Access to Shopify Apps.
- Customization.
- Security, and so on.
As far as the cost is concerned, there are all kinds of plans ranging from small-scale businesses to large and multi-national corporations that you can choose from depending on the size and scope of your business.
Or you can simply opt for the trial period that lasts for three days to get savvy with the platform and then subscribe to a suitable plan to continue building your online brand.
In either case, here’s how you can do it:
Create a shopify account
To be able to use the Shopify platform (including the free trial offer), the first thing you’d need to do is have a Shopify account which you can create using an existing email, Apple ID, or Facebook.
Once you successfully log in, you will be asked a series of questions regarding your business profile to better understand your business.
While you have the option to skip the questions entirely, answering them truthfully will only help Shopify assist you properly in your store-building process.
This includes devising a name for your online store, choosing locations to sell or promote your products (both online or in person), and defining your niche or line of expertise.
Based on the information you provide, Shopify will further generate a URL for your online store which you can change later on.
Finally, you will be directed to the admin panel of the platform to complete the setup of your online store.
Explore the admin panel
As the main administrative section of the platform, the admin panel is what allows you to manage and run your Shopify store as a whole.
In essence, this is where you go if you want to make any changes or additions to your digital shop.
With an intuitive dashboard and menu bar, here is the complete list of features that you can manage/modify using the admin panel:
- Orders- order fulfillment, cancellations, and reviews.
- Products- stock inventory, product images, description, cost, etc.
- Customers- customers list and contact info.
- Content- publishing and managing the content.
- Finances- managing the store’s expenses and profits.
- Analytics- analyzing your store’s performance.
- Marketing- e-mail, social media, SMS marketing, and automation.
- Discounts- discount offers and eligibility conditions.
- Sales Channels- online store/social media/in person.
- Apps- enhance your Shopify store with all kinds of apps.
Along with it, the admin panel also lets you design your online store just the way you like it.
Design and organize your online store
Although your newly built Shopify store would come with a default theme, you can always choose a different one, again, from the admin panel.
All you have to do is, click on the “online store” button on the dashboard and select the “Themes” option from the dropdown menu.
Here, you will be presented with many popular free themes that you can choose from as well as the Shopify theme store that you can visit and explore all the available themes including free and paid.
Once you have found the right theme to resonate with your business, add it to your theme library and choose the preview option to see whether it will appeal to the audience.
Similarly, you can manage other aspects of your online store including blog posts, pages, navigation, and so on.
Add products, images, and description
Perhaps the most important part of creating and running an online store is adding or showcasing the products or services that you have to offer.
This is something you can easily do using the products button on the sidebar menu.
Here you can add, remove, edit, or duplicate a product including its description, cost, inventory, shipping, and so on.
To make the most of it, you might want to pay attention to Search Engine Optimization (SEO) and optimize your pages and product descriptions accordingly to get higher rankings on Google search pages (SERPs).
Furthermore, you can also use the product option to categorize the products based on the gender, age, type, and so on.
Set up payment gateways and checkout options
Next up, you have to choose a payment method for your customers which Shopify as a fully-fledged e-commerce platform has no shortage of.
Apart from the Shopify payment gateways that are included with the plan, there are hundreds of other third-party payment channels like PayPal, Apple Pay, online banking, debit/credit card transactions, etc that you can choose from.
Just remember, if you opt for a third-party payment gateway instead of Shopify, then certain transaction charges may apply which vary from plan to plan.
Likewise, the checkout button allows you to configure the checkout settings such as the language, style, shipping/delivery preference, taxes, currency, etc.
Choose the shipping and delivery methods
Speaking of which, seamless shipping and timely delivery is the one thing that all your customers would want when shopping online.
To ensure hassle-free shipping, Shopify gives you total control over your shipping methods be it for domestic, local, or international customers.
With features such as adjustable shipping costs for different countries and regions, free shipping for eligible customers, different currency options, etc., you can easily manage the shipping and delivery options.
Manage taxes
Shopify also allows you to manage the sales and tax collection on goods and services based on the country or region where you are shipping.
All you need to do is go to the Tax and Duties section in the settings to manage or remit the relevant taxes.
Although Shopify is built to calculate the taxes automatically, it is always recommended to consult a tax professional or expert to ensure proper compliance with tax-related legalities.
For instance, registering and obtaining a dedicated Tax number from your country or region.
Amplify your shop with shopify Apps
To further enhance the shopping experience of your online consumers, you can complement your store with a plethora of Shopify apps that are built for various purposes.
Be it marketing, search engine optimization (SEO), dropshipping, or customer support, there are tens of hundreds of Shopify and third-party apps that you can use to streamline your entire buying funnel and selling process.
To integrate an additional app, just click on the Apps section from the left-hand side menu and choose the app you want to add.
Configure the order fulfillment process
As a dedicated e-commerce platform, Shopify lets you manage the entire order fulfillment process from start to end.
With regular updates and notifications about the same, you will be in a far better place to inform the customers about the exact status of the package via emails or text messages.
At the same time, you can automate the process of intimating the customers regarding order confirmation, order invoices, pending payments, and so on using the admin panel.
To personalize the notification messages, you need to go to the settings and click on the “Notifications” tab to view/manage all the different options such as order confirmation, invoice, refund, etc.
Test and launch your shopify store
Now that you have designed and set up your online store to your liking, it is ready to go live.
But before you launch your Shopify store, it is always wise to check its functionality by placing a test order.
To do that, simply go to Settings>Payments>Edit and check the ‘Use Test mode’ option, and save. And now, just place a demo order by pretending as if you were a customer.
You can use make-believe card details to ensure that the transaction process is up to the mark.
If the transaction goes through successfully, it will mean that your online Shopify store is ready to be launched and used in real time.
All you have to do now is remove the password protection by clicking on ‘online store’ and then preferences.
Once you uncheck the “Restrict access to visitors with the password” option and hit save, your Shopify store will be officially live and accessible to the public.
As easy as it is, developing an online store using Shopify can take up to 3-4 days depending on several factors like the complexity of your store, the number of products you want to add, and the length of customization.
So pay heed to these factors when building your Shopify store.

Kriti Sabharwal
Kriti Sabharwal is a content strategist and writer with more than ten years of experience creating content that informs, engages, and inspires action. She has worked across IT, fintech, energy, cryptocurrency, blockchain, lifestyle, healthcare, and education, turning complex concepts into clear, compelling narratives.
At tecHindustan, she brings subject expertise to all three verticals. In IT, she turns technical details into practical insights that help readers stay ahead in digital transformation. In Energy, she empowers audiences by simplifying real-time electricity tracking, consumption patterns, and sustainable practices that make smarter living accessible. In Fintech, she makes essential financial services such as bookkeeping, accounting, payroll, and CFO support easier to understand, giving readers clarity and confidence in managing growth.
Her work blends research, SEO precision, and creative storytelling to deliver content that educates, connects, and leaves readers with insights they can apply in meaningful ways.